Back to Tutorials
Our 'Learn To Paint' series
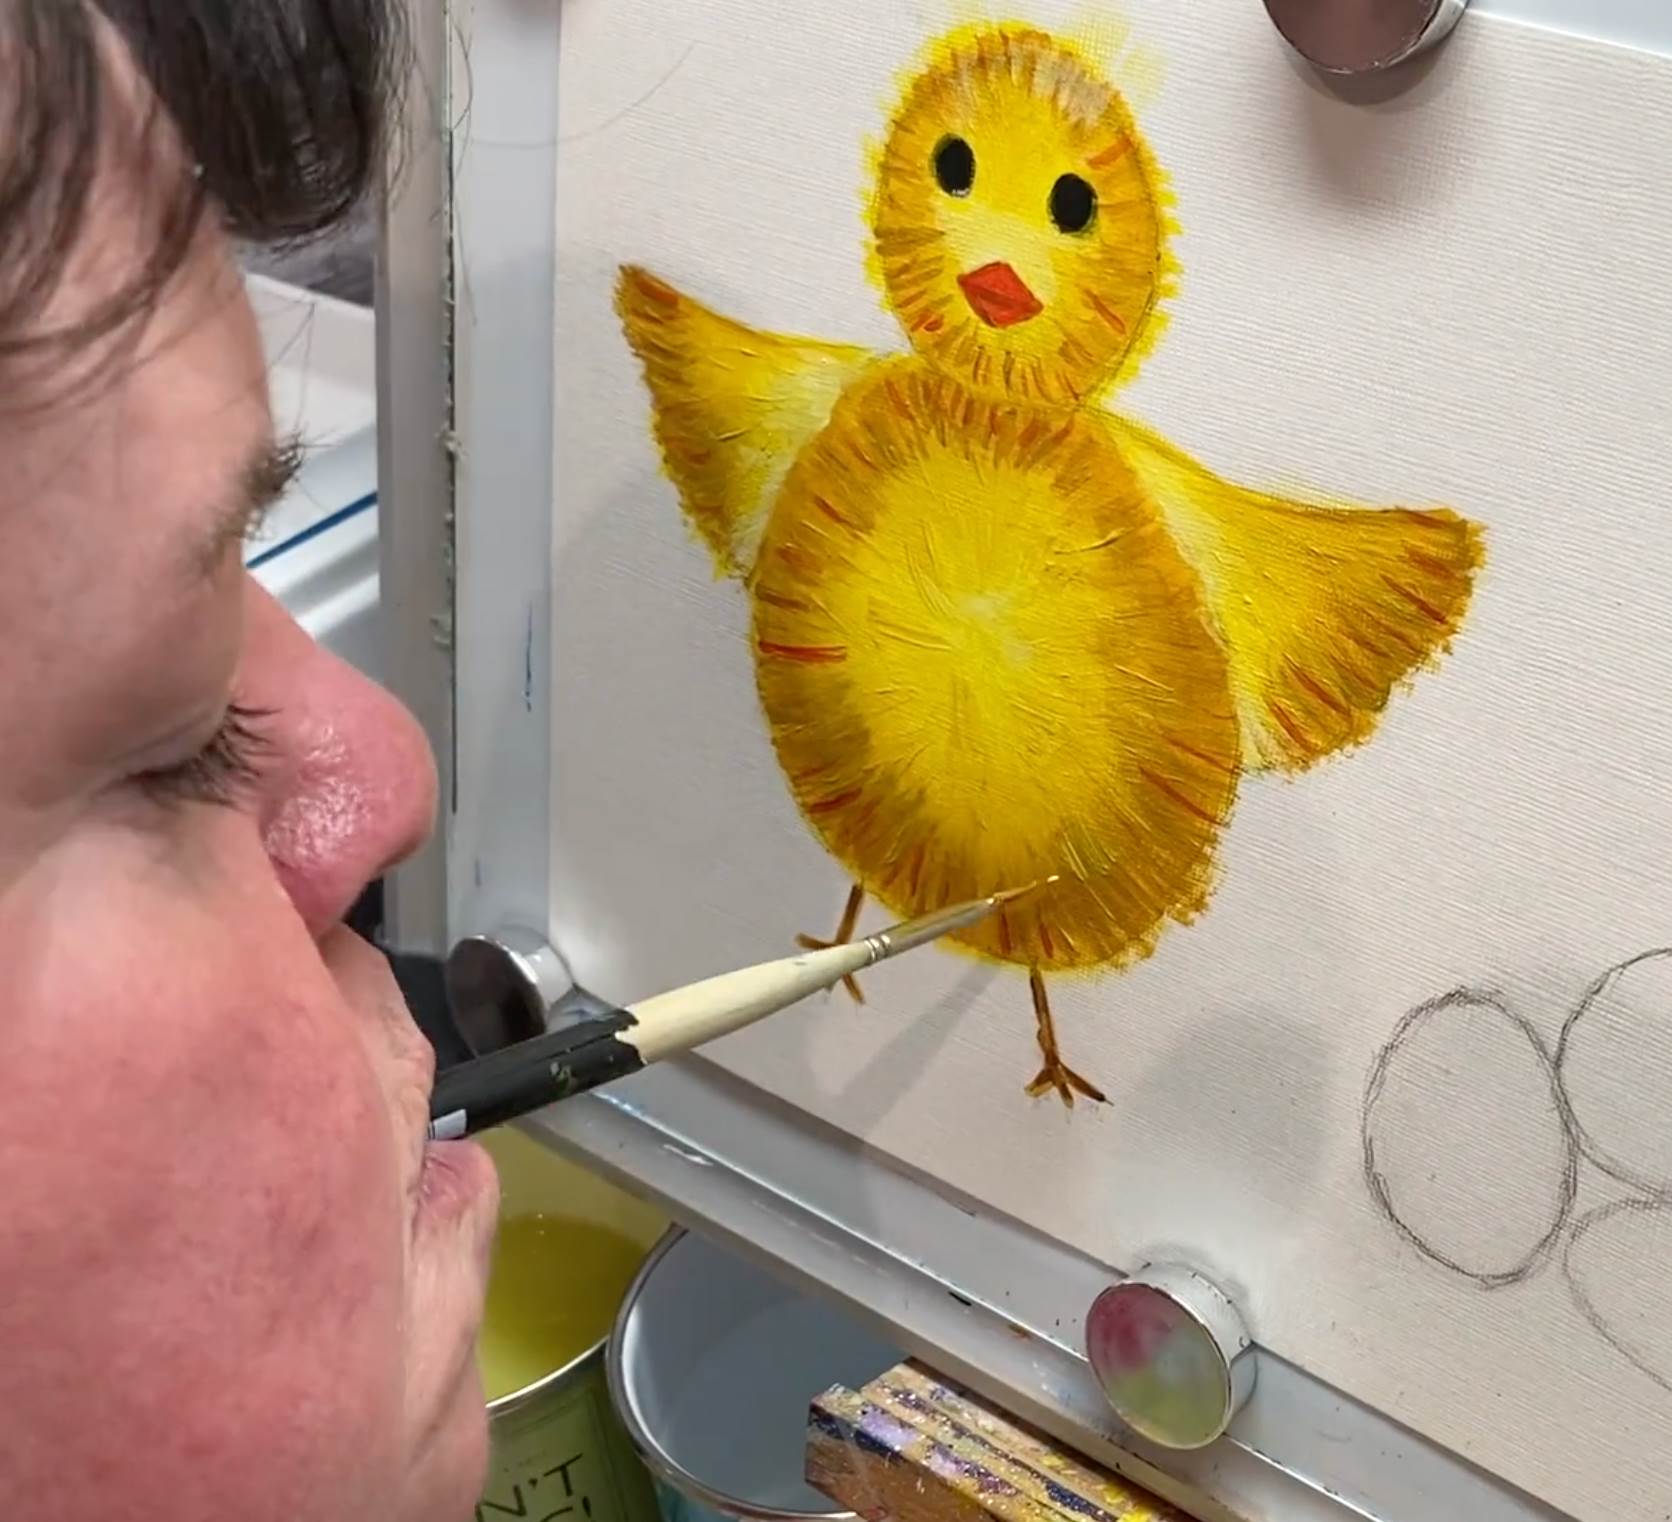
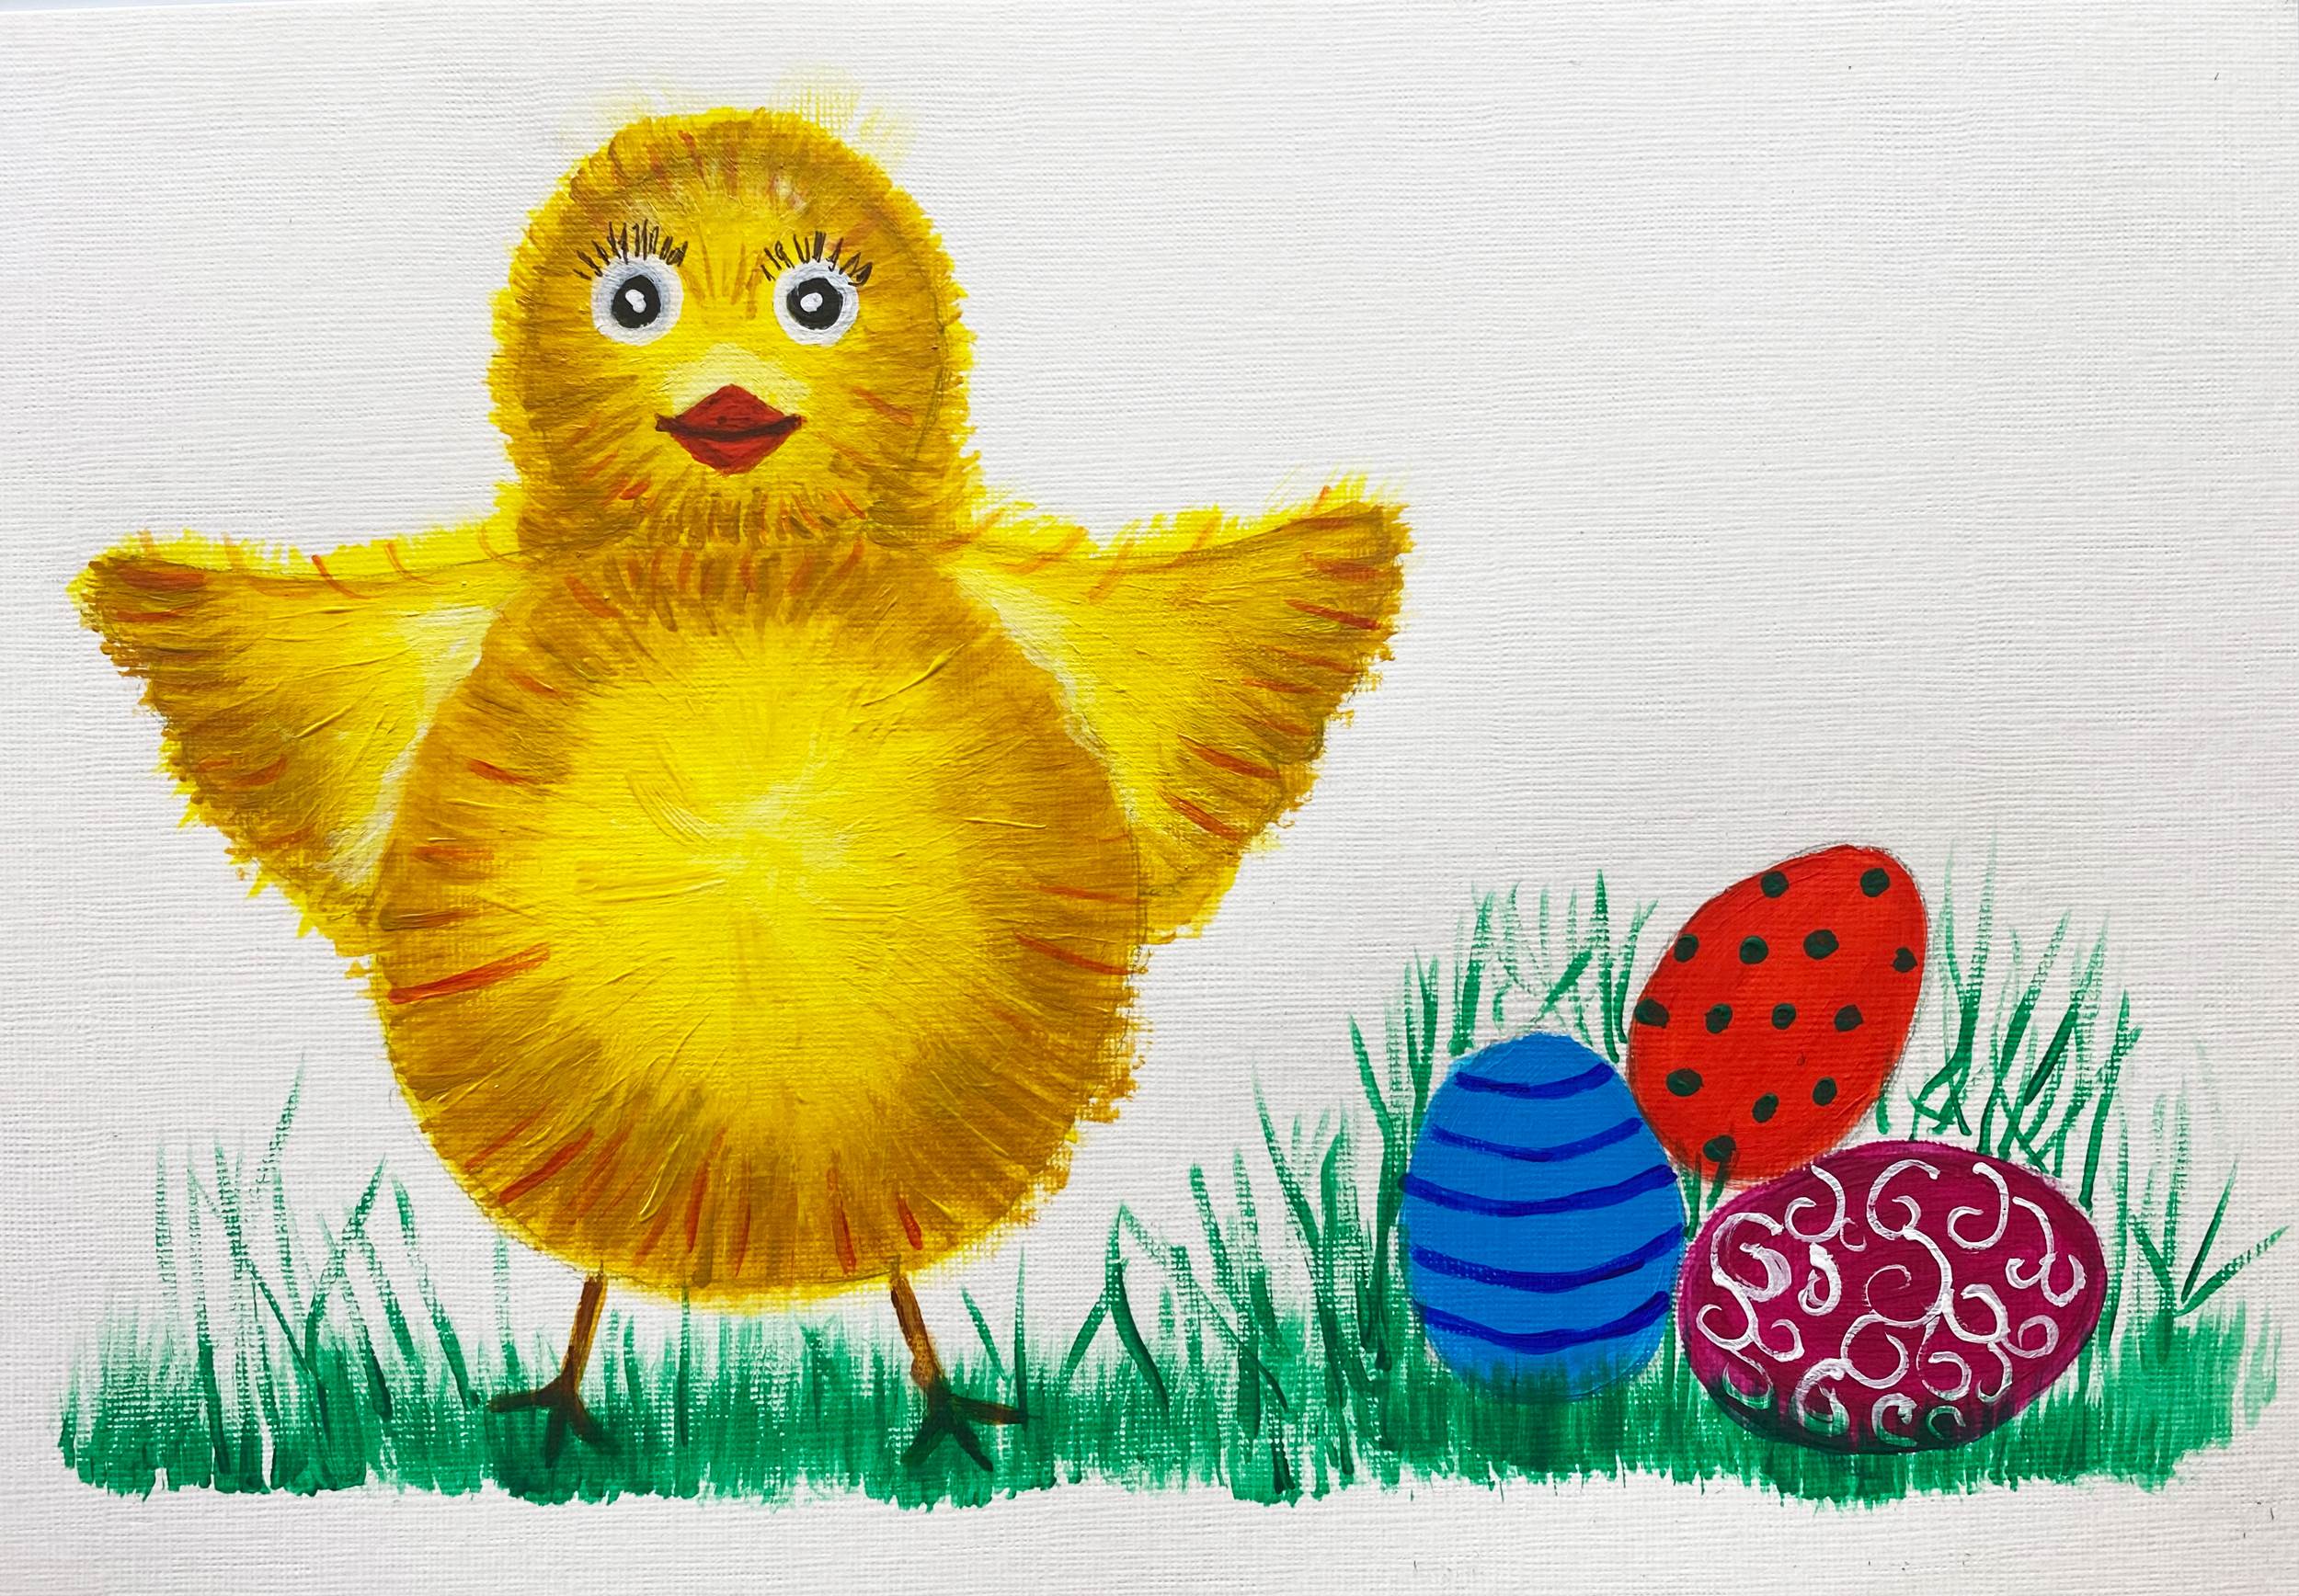
‘Happy Chick and Easter Eggs’ Painting Tutorial by Rosaleen Moriarty-Simmonds OBE
Looking for creative activities to entertain the kids at home over the Easter holidays?
Look no further than our new ‘Learn To Paint’ tutorial, with a very cute ‘Happy Chick and Easter Eggs’ design from mouth painting artist Rosaleen Moriarty-Simmonds, OBE.
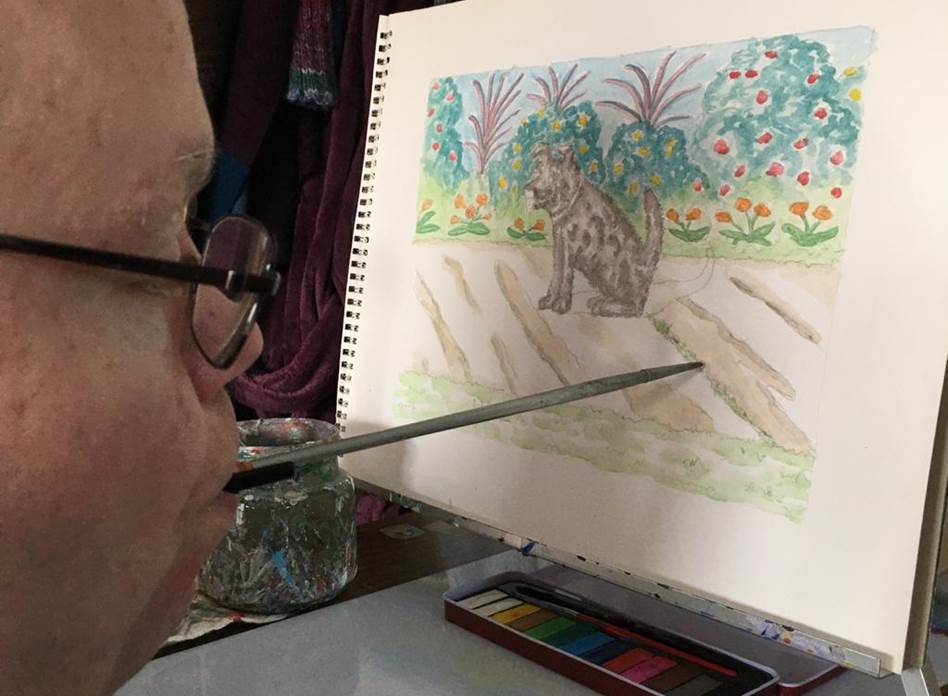
This simple Easter painting tutorial is great fun for young children, and teaches how to paint just like our artists, who use their mouth and feet due to physical disability. In this case, Rosie uses her mouth to paint – but worry not – you are welcome to use your hands if you wish to!
You will need:
- Paper
- Acrylic paints (or watercolours, crayons or pencils if you don’t have acrylic paints to hand)
- Paint brushes
- For younger artists, feel free to use Rosie’s handy outline of the chick to get started here.
Rosie’s top tips
Drawing the chick:
- Draw a circle, and below that a circle with a bigger bottom half, a bit like the number eight.
- In the top circle, add two smaller circles for the chick’s eyes, and for the beak, a diamond shape with a horizontal line across the middle.
- For the wings, add triangle shapes either side of your larger circle.
- Add legs by drawing a straight line with three lines coming off of it to make the toes.
Drawing the eggs:
- For your eggs, draw an oval shape, and remember that it is narrow at the top and wider at the bottom. You decide how many eggs you want in your picture!
Now… to colour-in your chick!
- Place your acrylic paints into your palette, leaving enough space between them to mix the colours. You could also use watercolour paints, crayons, or pencils if you don’t have acrylic paint to hand.
- The colours you will need are white, yellow, yellow ochre, orange, red, pink, burnt umber, blue, green, black and any other colours you would like to use, especially for your eggs! Or feel free to customise the colours if you don’t have all of the ones above.
- Mixing yellow with white paint, use a flat brush and start painting the centre of the head and body of your chicken. Work outwards, getting a little bit darker as you go by moving onto yellow ochre paint (a slightly darker, sandier yellow).
- Use black for the eyes and orange for the beak. Use burnt umber for the legs and toes. For these small details, a thin round brush should do the trick.
- Now you can have fun making your chick fluffy and spiky. Use yellow, yellow ochre, orange and even a little bit of red. With a rigger brush, or small fan brush, make short strokes from the outer edges, working inwards towards the centre. Start with the wings, then the body, and the face last.
Colouring-in the eggs
- Choose any colour you like for the eggs, and add details like wavy or curved lines, stripes, zigzag lines, star shapes, circles of various sizes, flowers and hearts.
Applying the finishing touches
- Add grass so that your chick and eggs don’t look like they are floating!
- Add any other smaller details that you wish to add, like eyelashes on your chick.
You can also tag us at #PaintWithMFPA for a chance for your creation to be shared on our social media channels.
Join our mailing lists
If you would like to be put on our mailing list to receive our greeting cards, calendars and other products then please fill in the form here.